UPDATE: I’ve had a few requests for the vector file I used to create my print, but I couldn’t find it anywhere. So unlike me… Anyway, I’ve taken a few minutes to recreate the file and have it linked below in a few different formats. The AI file is layered and contains the original drawing on a hidden layer, my traced results, and the eyes in case you want to do a different trace in Illustrator. You’ll notice that the original drawing by Bodner (presumably) does not have the eyes featured on a lot of the printed pieces for sale out on the web. It’s also actually a scuttlefish, so it has two little horn things above its eyes that I removed. Also supplied EPS and PDF files for download. I’d love to see what other people do with these! Enjoy!
First of all, yeah, I know Lord Bodner’s Octopus Triptych would be an awesome name for a three-piece band (but that’s totally off point).
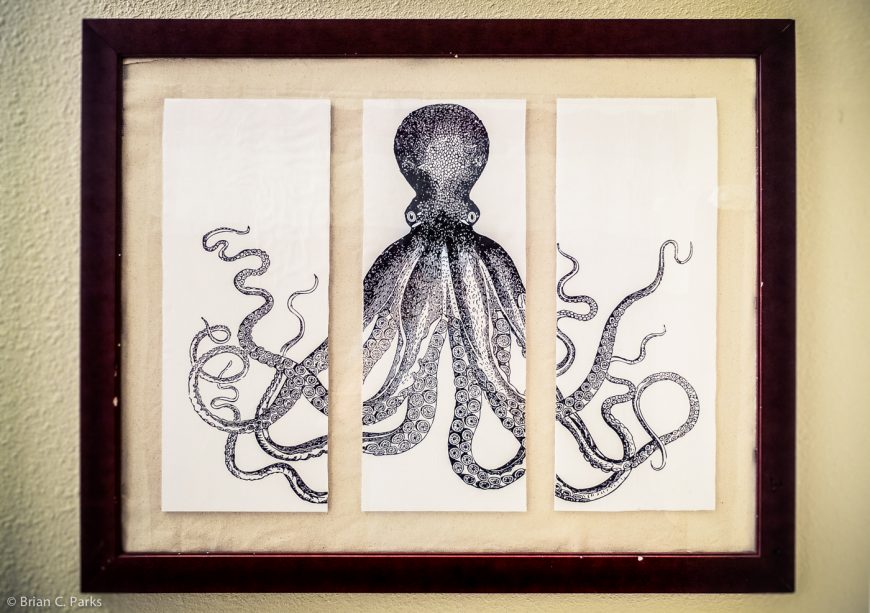
Let’s start off with some background: When my wife and I were on Catalina Island for our wedding, we stayed at the Catalina Island Inn (great little hotel, by the way). On the second floor was a piece of art that I absolutely fell in love with (shown below). The whole time we were there I’d get a kick out of it every time we walked by. I kept telling myself that I would track it down and try to get one just like it when we got back home (even going so far as to take the aforementioned photo).
Unfortunately, that never happened.
Skip ahead a few months to last week. My wife and I are shopping at what passes for a mall here in Lubbock when I saw a familiar octopus print at the Earth Trading Company. Sure, it was a tie-dye one-panel version, but it rekindled my interest.
When I got back home, I found my reference photo and started googling. Surprisingly, Lord Bodner’s octopus triptych is a fairly popular piece of art. The original engraving is purported to actually be of a scuttlefish, but nobody seems to care. It was relatively easy to find variations of the artwork for sale, from homemade products on Etsy for a few hundred, to professionally produced pieces on premium sites for upwards of four grand.
Yeah, that wasn’t going to happen.
Some more googling yielded a few vague how-to guides, but nothing too easy to follow (and for some reason, all of the homemade and popular for sale pieces had the panels framed individually unlike the single-frame work hanging at the Inn). Alright then, gonna have to do this myself.
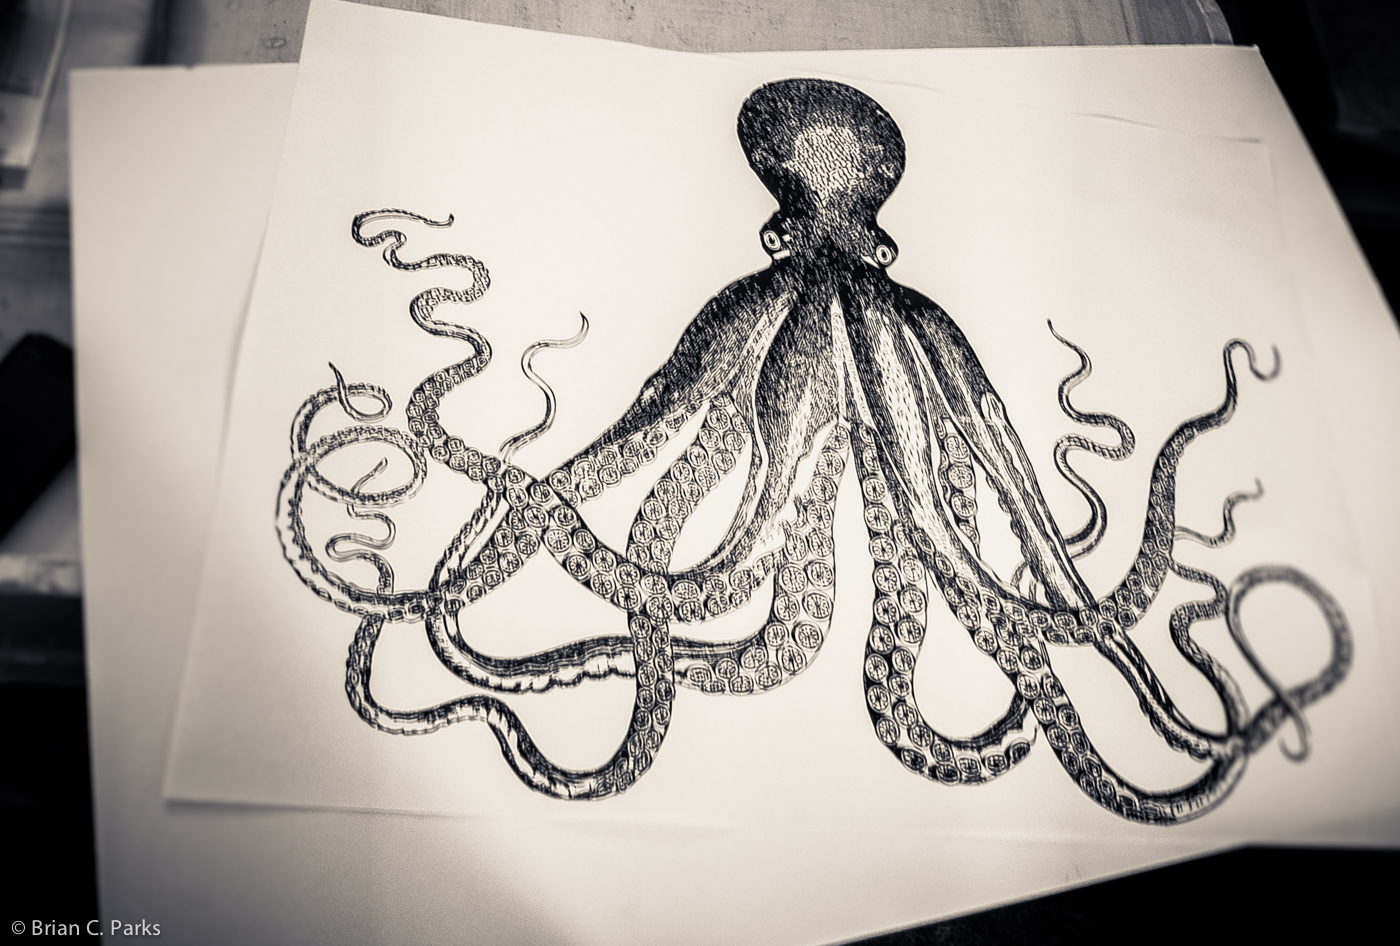
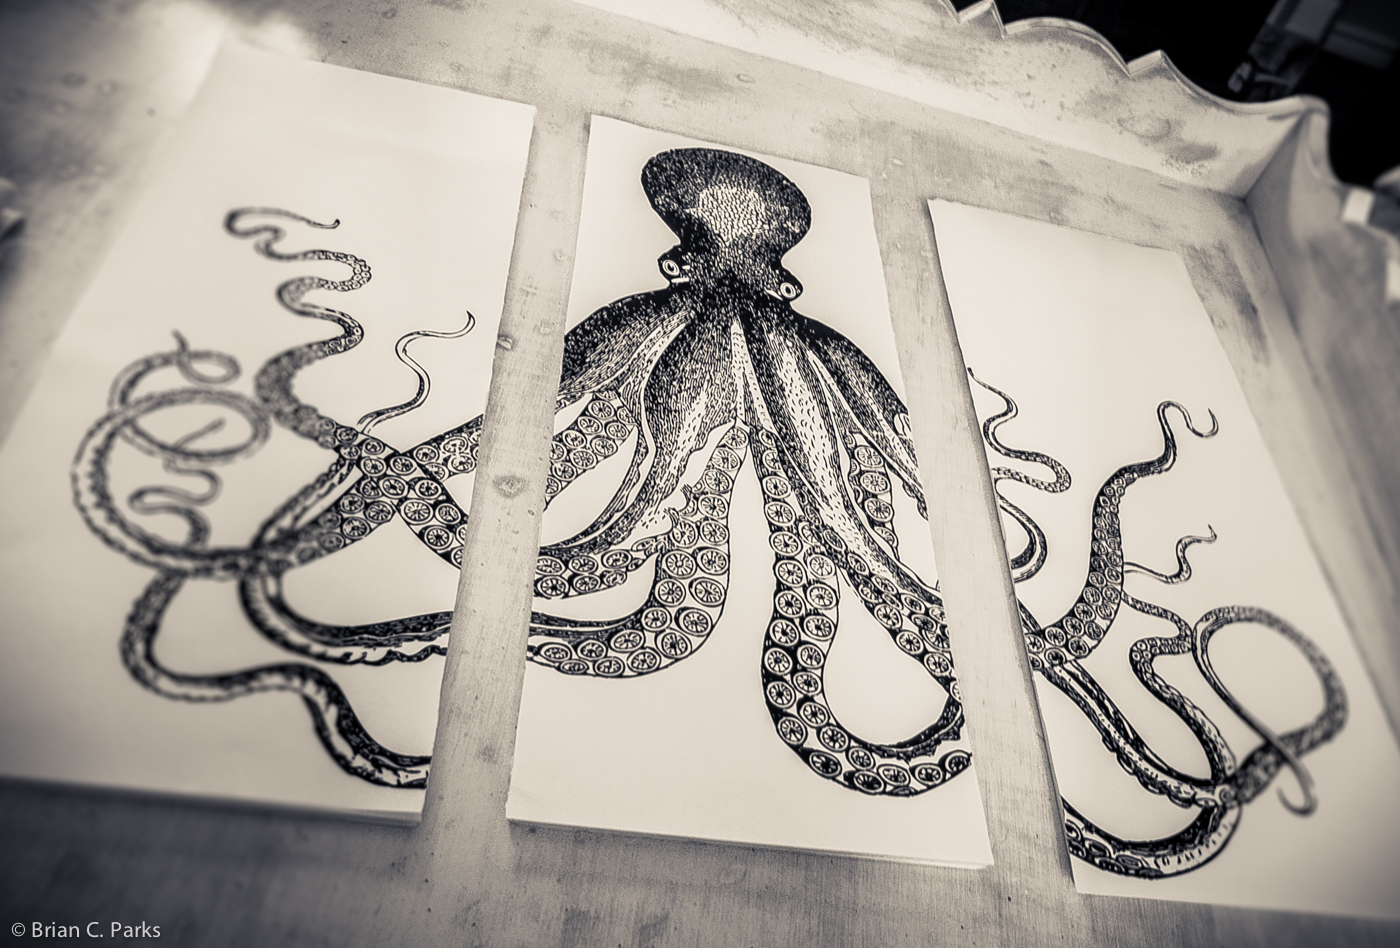
I started out by creating a vector art file from a large image file I found online of the “original” engraving (I put that in quotes because who knows if it actually is). Once I got my vector art the way I wanted it in Illustrator (there were a few slight variations in the eyes and such that I changed), I uploaded that to Staples and ordered an 18″ x 24″ engineering print (a whopping $1.69 plus tax). For this project, an engineering print worked great since it’s all black and white line art. The print came out beautifully.
Next stop was Hobby Lobby for some mod podge and other supplies. Obviously, I needed a huge frame to put the finished product in along with some canvas material from the fabric department. I picked up a few spongy brushes and a large (20″ x 30″) piece of white foam board while I was at it. Grand total from Hobby Lobby? $41.02 (they ended up giving me the 22″ x 28″ frame for 50% off since it was a little dinged up, but their usual 40% coupon would net you pretty much the same deal).
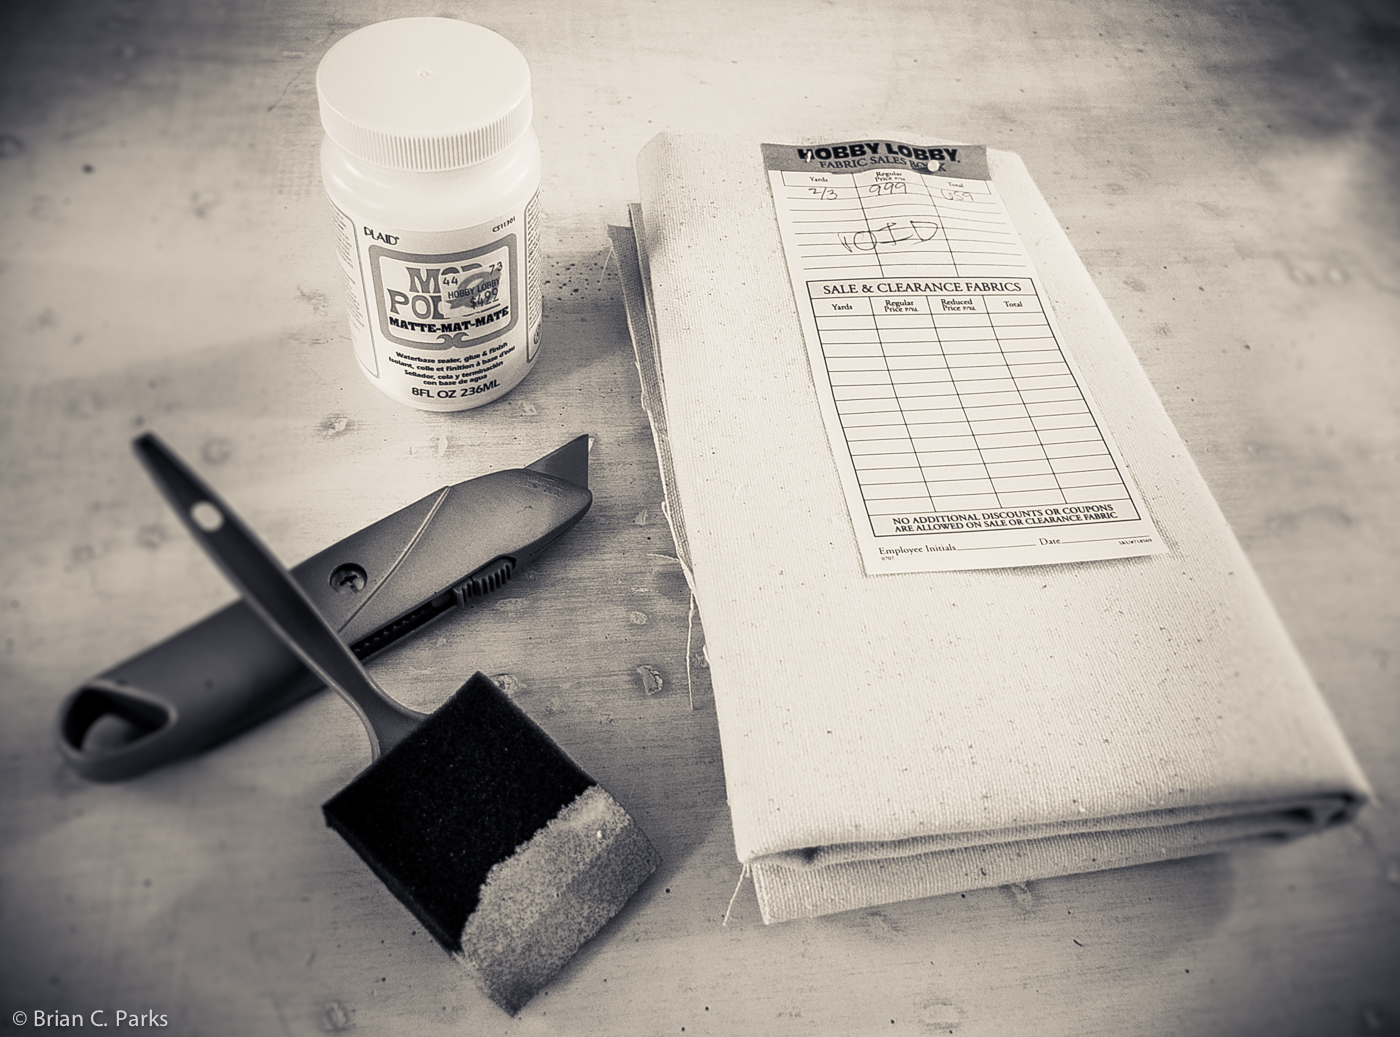
A blade was a must, as well, but you’ve probably got one lying around somewhere. Now it was time to set to work. Since the print was 24″ wide and the frame 28″, I cut print into three sections (each measuring 7″). This would give me 1.5″ in between the panels and enough room for 2″ of space around the whole piece. Easy peasy. Likewise, I trimmed the foam board down to three panels measuring 7″ x 18″ each.
Next, it’s time to cut the canvas. That proved harder than I anticipated, mostly due to the cheap ass scissors I was using (I felt like I was back in kindergarten using safety scissors). I tried to size it as close to the size of the cardboard frame backing as possible, which turned out to be a bad idea. Once I was finished, I ended up with a few corners that didn’t quite cover the entire backing. Oops. Not to fear! I got out my trusty stapler (Swingline, freestanding with a flat black finish), stretched that canvas as far as it would go without bunching up, and stapler her down. Ultimately, I only ended up with one tiny piece of black backing showing through, which I fixed using a spare piece of canvas. In hindsight, I should have just cut it a few inches longer and wrapped it around the backing to avoid any gaps. Oh well, it looks pretty good still.
With the canvas secured, it was time to get messy. I broke out the Mod Podge and my little spongy brush (which was too wide to fit into the bottle easily, creating an even larger mess than necessary) and started coating the foam board with glue. Yes, it was pretty nerve-wracking applying the printed panels to the foam board, and the final result came out a little “bubbly” (though, I’m not sure if that’s because I didn’t apply them smoothly or if it’s due to build up of extraneous glue). Either way, the bubbles create a sort of distressed look, so it’s not so bad.
Once the panels were assembled (one of which I noticed was already starting to warp, board and all), I mod-podged them to the canvas and used some large hardback books to help flatten them out while they dried.

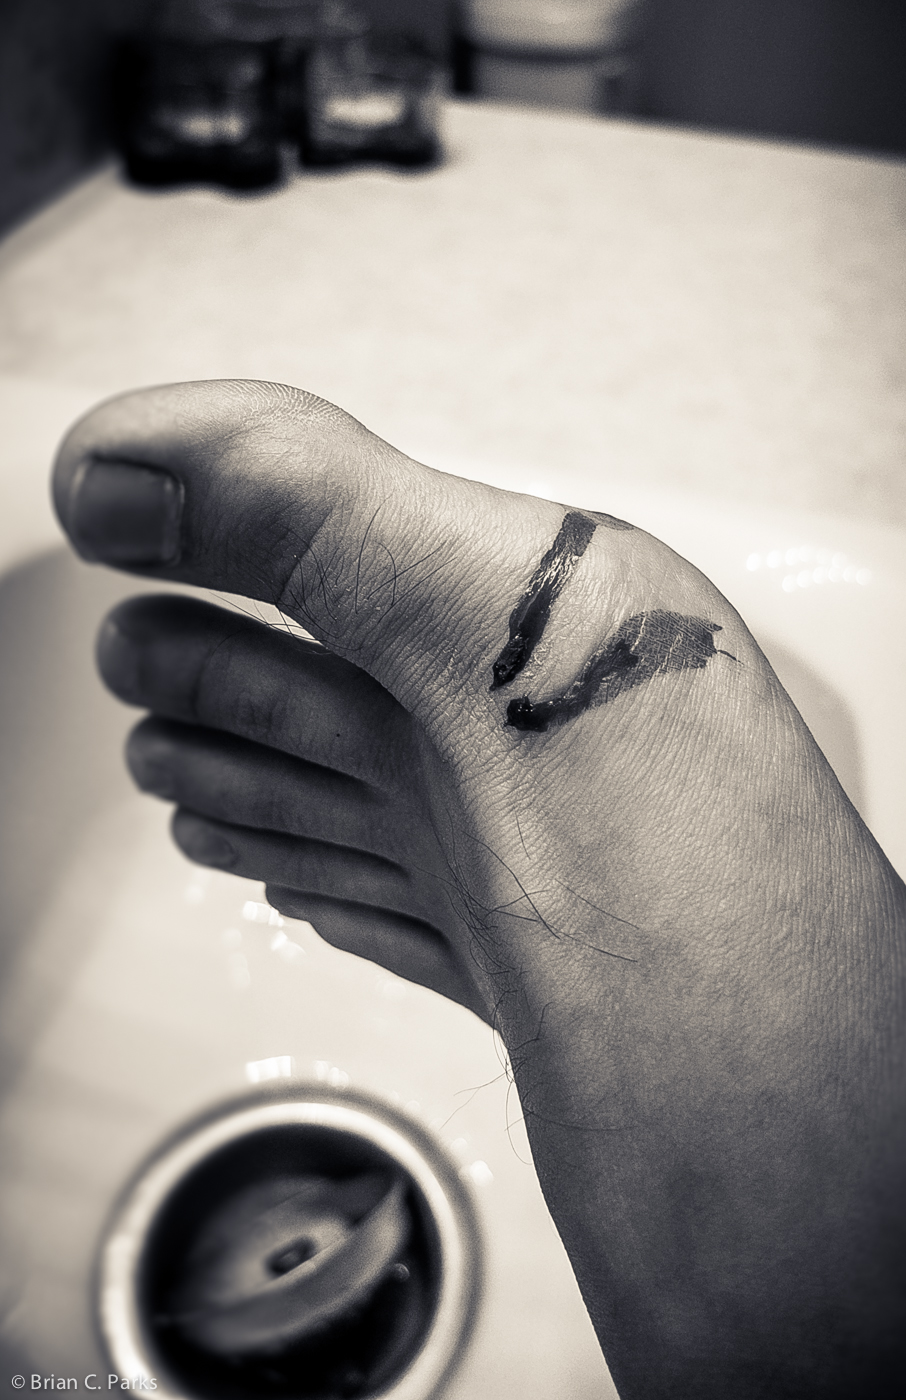
Unfortunately, at this point I had to take a break (turning a one-night project into a two-night project). While the boards and canvas were all drying, I decided to prep the rest of the frame. This mostly came down to getting the glass flush with the frame (taking the backing off had apparently pushed the glass up past one or two of the metal foldy things that secure everything in place). What they didn’t tell me when I bought the frame is that the glass in said frame was of the shittiest possible quality known to man or animal. The whole thing shattered with less force than someone pushing an elevator button (unless you push elevator buttons with some sort of odious hatred of elevator buttons, in which case you’re probably thinking, “Well of course it broke, asshole. You shouldn’t have pressed on it so hard.”). Anyway, lessons learned: 1) Don’t try to adjust the glass in a frame without first removing the little metal foldy things, and 2) If you’re going to be macho and ignore #1, at least rest the frame horizontally on something soft instead of holding it all upright (’cause if you do that, all the glass will fall out and land by and on your feet when it invariably breaks).
Stupid.
So… that could have been a lot worse. But essentially, that pretty much ruined arts & craft night, turning it into “Look, there’s a piece of glass right there! Right there behind your foot!”
Fast forward to Day Two. Being glassless meant another trip to Hobby Lobby. Luckily, when I informed them of what happened, they were nice enough to replace the glass for me. Yay, no additional monies expended! Back home, I assembled the now plenty dry pieces with the frame and finagled the canvas-wrapped backing into the frame.
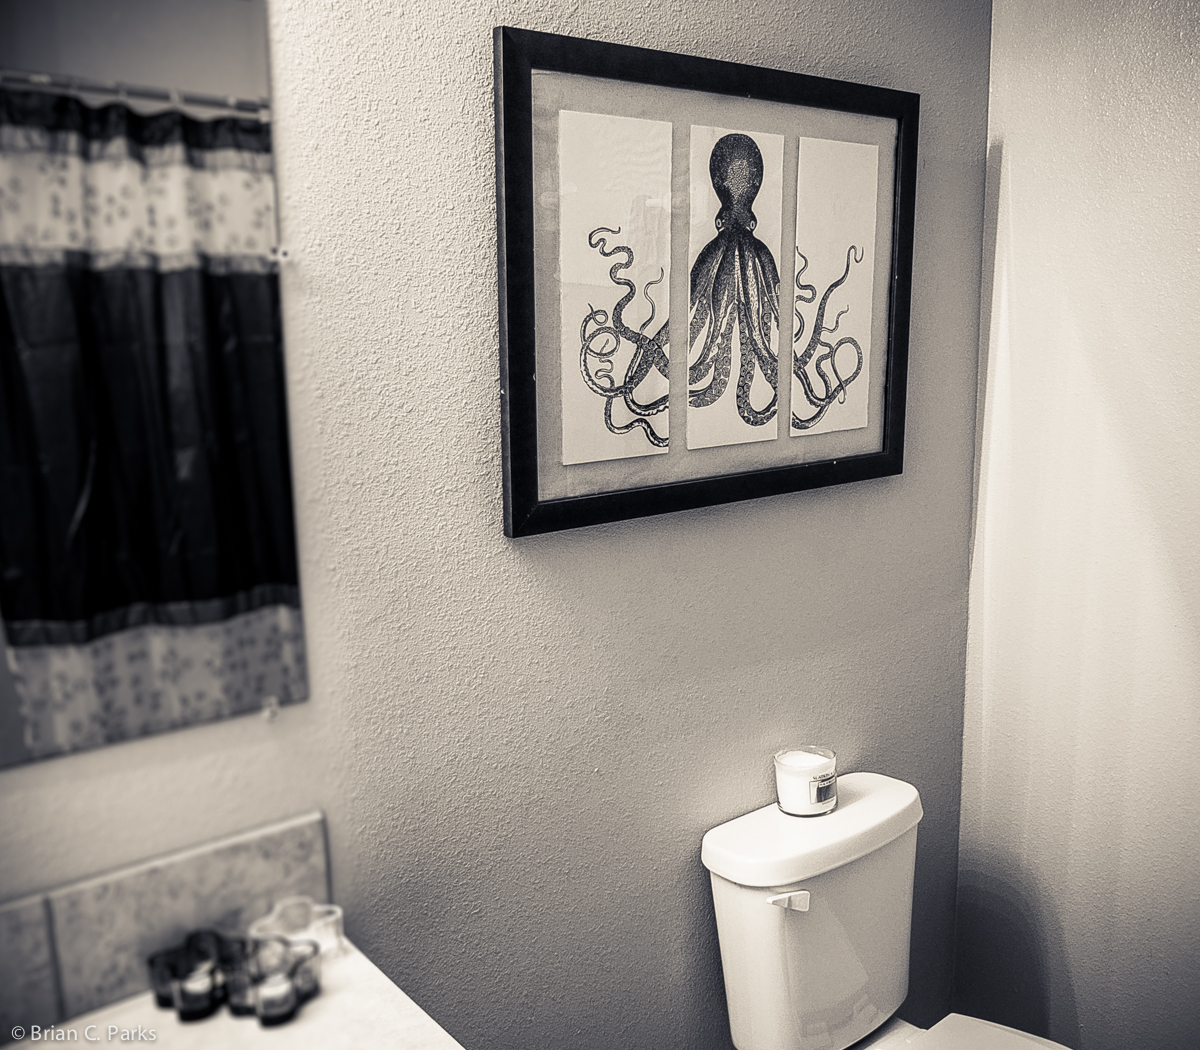
Completed, the whole thing looks pretty damn good and not too far from what I saw hanging in the Catalina Island Inn. So, not too shabby for under $50 and two nights of work. Granted, if I had cut off my big toe it would have ended up being a lot more expensive (probably more so even than the professionally done piece for four grand), but that didn’t happen so I’m going to call this a success.
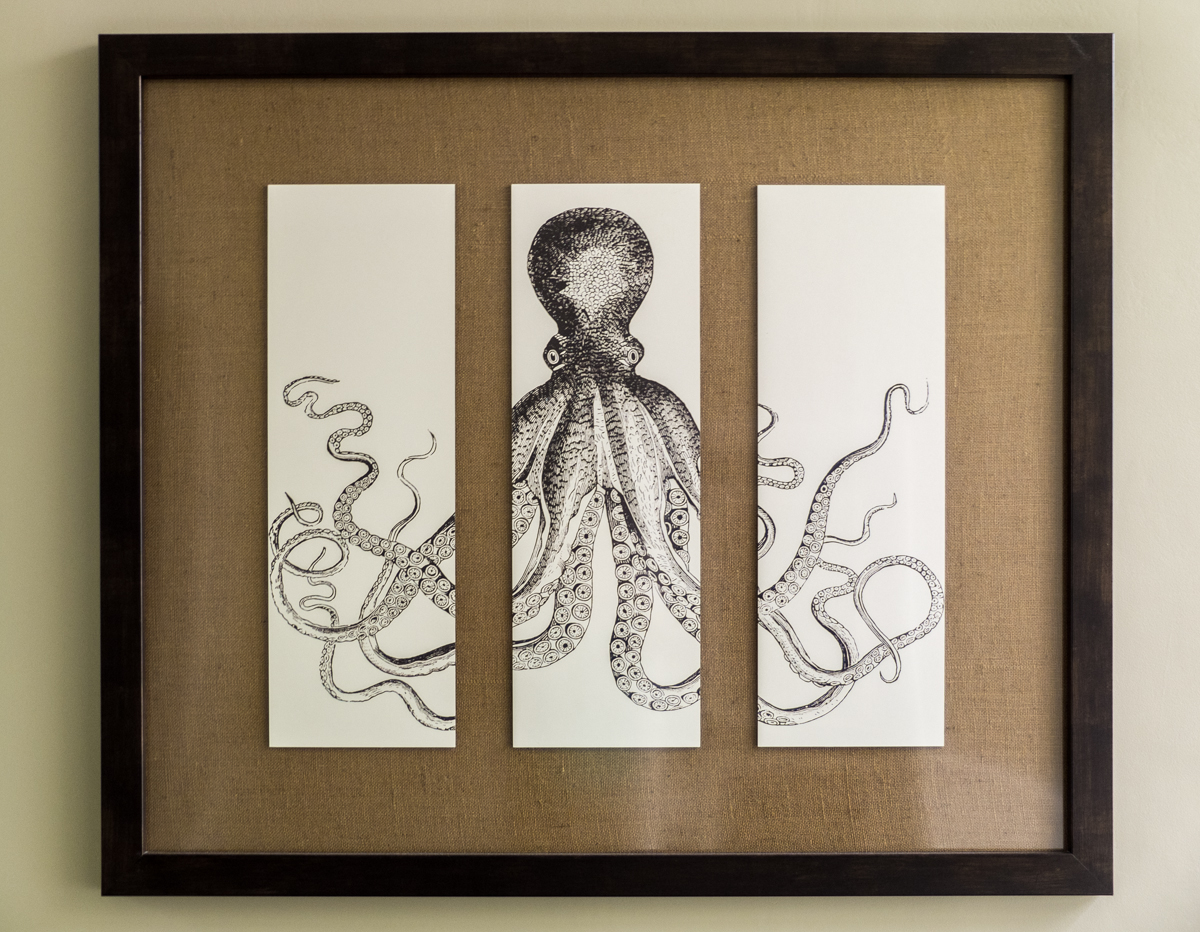
Here’s the finished project hanging in my guest bathroom (on one of the heaviest frame hangers I could find so that it will remain on the wall).
And one last close-up shot of the finished piece. Compared to the original up top, it’s pretty close, with the biggest differences being the size of the enclosing frame. The original panels look a bit more narrow, as well. Other than that, not too bad if I say so myself!


2 Comments
Hi
I am ver impressed with your work of LORD BODNER’S OCTOPUS TRIPTYCH. I was wondering if you would be willing to give out the .ai file of this so i could recreate a similar piece following your method for my own living room? Kindly let me know or simply forward it to me on my e-mail.
Thank you
J
Great job! This looks so cool. I am also wondering if you would be willing to share your vector file. If so, would you email it to me?